Measuring is knowing
October 25, 2022
An interesting new case study on our customer IASA Instandhaltungstechnik in Switzerland and the importance for geometry checks. >> Download the full case study as pdf
Measuring is knowing: Geometry measurements guarantee accuracy
For more than 43 years, IASA Instandhaltungstechnik AG has been a reliable partner in the field of maintenance, mechanical engineering and machining technology. Based in Switzerland, the company’s workforce consists of over 40 experienced specialists. The core expertise of IASA AG lies in the production of precision components and the servicing and overhauling of pumps, fittings and safety valves.
IASA AG offers a broad range of milling, turning, drilling, grinding and assembly services. Using its state-of-the-art machinery, the company machines a broad spectrum of materials and manufactures specialist spare parts and individual components, in addition to small and medium-sized production runs. Alongside the usual types of mechanical machining, one of its specialisms is the machining of large workpieces.

Large production runs
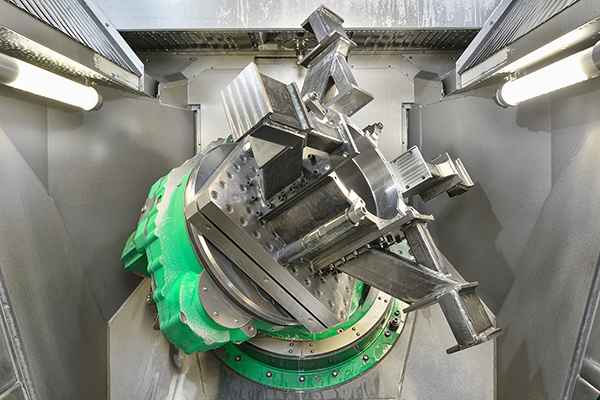
Since 2011, IASA AG has been using a Unisign CNC – a compact, high-performance machining centre for the rapid, precise and cost-effective production of aluminium structural components. Its powerful 100-kW spindle drive with a speed of 25,000 rpm removes aluminium at a rate of more than 10,000 cm3 per minute. Thanks to the extreme rigidity specified in its design, the machine remains extremely stable throughout.
Safe and easily accessible
The machine itself is a completely closed system with built-in steam extraction and electronic safety locks on the machine doors to ensure that the area around the machine remains safe. The machine operator at IASA AG can therefore keep a close eye on all of the processes being performed. A roof panel can be opened using a pneumatically activated slider system, so the machine is easy to load and unload from above using an overhead crane.
Geometry checking
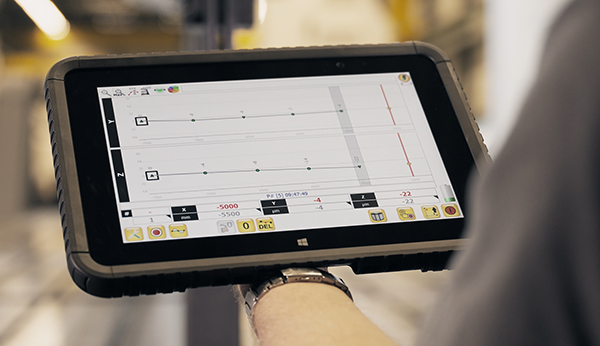
Quality and a high degree of accuracy are the hallmarks of the Unisign machine. As in all CNC machining centres, however, dimensional inaccuracies can still occur for reasons including temperature differences, the replacement of a spindle or simply as a result of wear and tear due to everyday use. One such inaccuracy occurred at IASA AG in 2021: the mid-point of the turntable and swivel table was found to be out of place by 0.05 mm. The company’s aim was to ensure precision, in order to guarantee that the product quality remained consistent. The production manager at IASA AG, Mr. Yannic Zünti, therefore contacted Unisign and asked for a geometry measurement to be carried out.
Correction and control with test piece
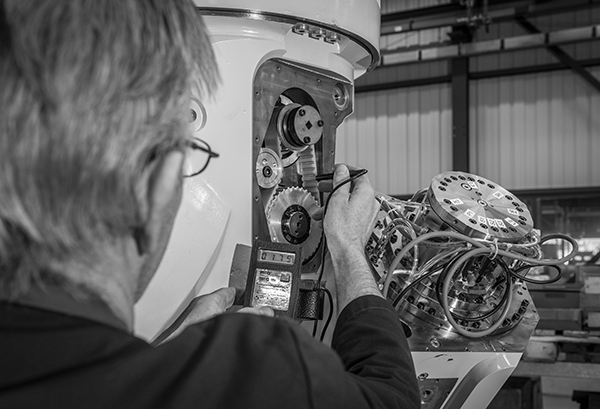
Dennis Clephas, our experienced geometry specialist, immediately travelled to Switzerland to carry out a geometry inspection on the machine at IASA AG’s production site in Frauenfeld. When checking the Traori-point (the pivot point of the turntable and swivel table), a dimensional inaccuracy was identified on the Z-axis. Clephas then corrected the Z-axis, before carrying out further measurements on the spindle in two temperature scenarios – hot and cold. The result? Both measurements were once again comfortably within the machine’s specifications.
Production stability that lasts for years
IASA AG then proceeded to machine a test product. When subsequent measurements were taken, a small inaccuracy was still found to be present, so a very marginal fine adjustment was carried out at the request of the production manager at IASA AG. The inaccuracy was then measured at 0.01 mm, comfortably within the tolerances concerned. Finally, a further test product was machined for verification purposes and the results were found to be excellent in terms of accuracy.
The Unisign machine at IASA AG is now back in operation, in a way that is cost-effective and prevents wear, and it is once again ready to continue production at an extremely high degree of accuracy for many years to come.
Mr Yannic Zünti explains: “Unisign enables us to achieve an ideal balance between high reliability, speed, performance and accuracy. Those values are not only of importance to us, but are also crucially important to our customers as well.”
———————————————————————————–

Geometry checking to prevent manufacturing losses
Unisign recommends regular geometry checks to make sure that your machine remains accurate on a long-term basis. Only then will your machines be at their most productive. Unisign not only offers the relevant expertise, but it also makes use of high-tech measuring devices. All measurements are performed by our geometry specialists using standardised measurement methods and standards (DIN/ISO).
Expert inspections followed up by recommendations from us will leave your CNC machine performing as
accurately as possible, thereby avoiding manufacturing losses and reducing the number of product returns and repairs that could result from poor machining accuracy. Thanks to our experts, you can once again rely on achieving a consistent product quality. We recommend having a geometry check carried out by a measurement specialist from Unisign at least once a year. The geometry check can also be included in your maintenance contract.


